

Music Man, Mr. Hippo, Malhare, and usually Phantoms are manageable; close Helpy ads, shock Scrap Baby when her warning activates, and preserve flashlight compatibility before taking Shadow Freddy.
Location 3 roster
This pool includes Helpy, Malhare, the Phantoms, Mr. Hippo, Shadow Freddy, Scrap Baby, and Music Man. Most create distraction or resource pressure rather than a direct kill.
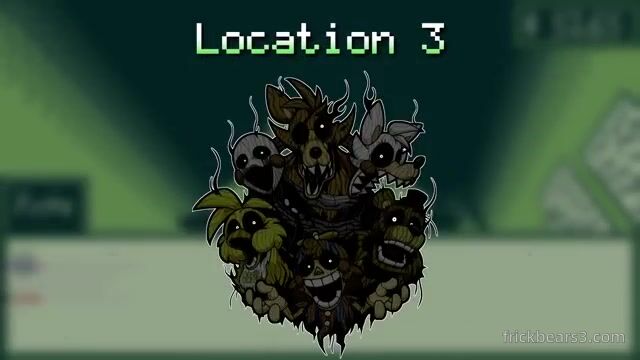 The third location tests attention more than door speed.
Nonlethal pressure
- Malhare: limits monitor flips to roughly 35–25 depending on AI. Reaching zero locks cameras for the rest of the night, which usually lets Puppet kill you.
- Music Man: plays false attack sounds. Confirm a cue against the relevant visual state before reacting.
- Helpy: opens pop-up ads over the interface. Click the X in the popup corner; misplaced clicks waste time and can hide other controls.
- Mr. Hippo: uses the vents but has no normal arrival voice line. Listen for loud vent movement and mask him at the entrance.
- Phantoms: occupy random cameras. Looking too long completes their attack and raises temperature by 25%, but does not directly end the night.
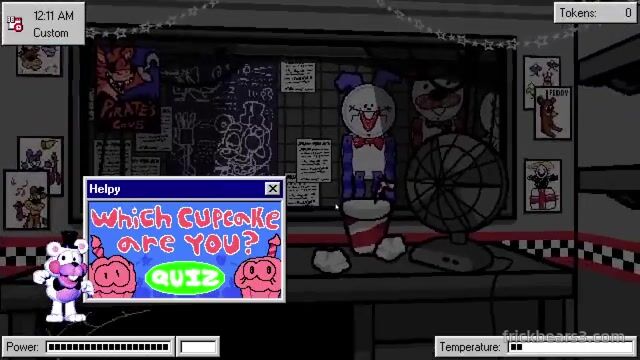 Clear popups deliberately; frantic clicking can collide with another office task.
Scrap Baby
Scrap Baby appears in Cam 8 after her spawn cue. Power does not drain immediately; wait for the warning beside the usage meter, then locate her and use Controlled Shock. Powering out while she is active is lethal.
Shadow Freddy
Shadow Freddy appears once and darkens both office and cameras, sometimes for up to a minute. The flashlight becomes the only way to see.
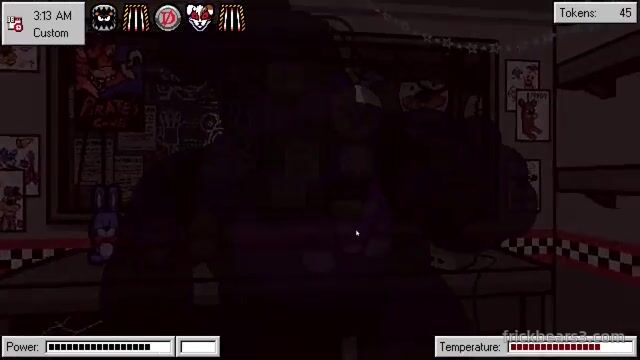 A blackout magnifies every threat that needs precise visual confirmation.
Do not select Shadow Freddy when Endo is active. Endo kills on any flashlight use, creating a direct conflict with the blackout.
Keep going