

Break Springtrap's boards with the Parts and Service hatchet, pass Balloon Boy's quiz for Lefty's key, enter 395248 for Scrap Baby, enter SPRINGBONNIE for Molten Freddy, then beat Salvage on Night 6.
Route checklist
Each of the first four salvage locations hides one dangerous animatronic. Secret salvages do not satisfy the normal quota, so collect the secret and still complete the guard's required regular salvages.
Location 1 — Springtrap
- Inspect the boards beside the bathrooms.
- Read the employee memo across the hall for the hatchet clue.
- Enter Parts and Service and crouch beneath Endo's shell.
- Collect the hatchet behind Endo.
- Return to the boards, break them, and salvage Springtrap.
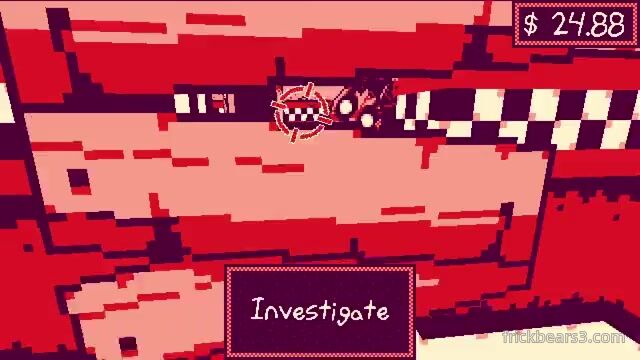 The interaction first confirms that a tool is required.
 Crouch under the shell in Parts and Service to reach the hatchet.
Location 2 — Lefty
Inspect the locked door beside the women's bathroom, then speak to Balloon Boy. Answer three quiz questions correctly to receive the key. Return to the door and salvage Lefty.
Location 3 — Scrap Baby
The office keypad needs six digits. The clues establish that the first three are odd, the last three are even, no digit repeats, 1/6/7 are excluded, 5 is third, and 4 lies between a smaller and larger even digit. The solution is 395248.
 Enter 395248 to open the room outside the office.
Location 4 — Molten Freddy
Find the coded box on a desk in an upstairs room. The nearby note says the password is the owner's favorite child. Enter SPRINGBONNIE to open it and salvage Molten Freddy.
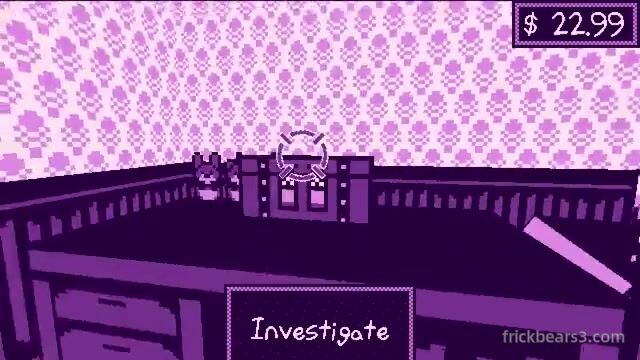 Use the on-screen keyboard and enter SPRINGBONNIE without a space.
Night 5 setup
Death Coin Springtrap as soon as possible. Trap Lefty in the vent loop. Scrap Baby only needs one timed shock, and Molten Freddy is an additional delayed door check. Keep the regular salvage roster light because those characters return in the boss fight.
Salvage boss phases
Phase 1 — Doors
Salvage starts on Cam 1 and advances one feed at a time. A static cue announces a door attack. Close that door and mash its button repeatedly to push him away and remove health. Flashing him on camera moves him forward, the reverse of Springtrap, so use it to accelerate the damage cycle when safe.
Phase 2 — Power
Salvage leaves Cam 1 for another feed and prepares a power outage. Find the occupied camera and use Controlled Shock. If the outage completes, he regenerates health until shocked.
Phase 3 — Vent wires
A flashing vent warning identifies an incoming wire. Open Vents and click the eyeball to remove it.
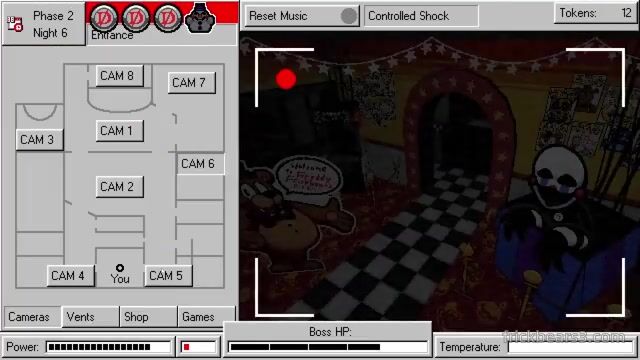 Phase 3 adds the vent eyeball while earlier attacks continue.
Phase 4 — Office wires
Wires enter the office and must be dragged down before their timer expires. The active set now includes doors, power shocks, vent wires, office wires, and almost the whole chosen roster. Stay in the office, check cameras only for the power attack, and buy Bear Trap insurance.
Phase 5 — Survive and finish
All held items are removed. Salvage uses rapid door attacks and office wires while the salvaged roster remains active. Hold the office, make only required camera checks, and continue door damage until his health is gone.
Death Coin shortcut
A Death Coin removes one full boss phase instead of killing Salvage instantly. Overstock can supply as many as four. Before the final phase removes items, select every remaining Death Coin and use them on Salvage; properly queued coins can bypass most or all of the last phase.
Keep going